

How Do You Create a Digital Clock Using a 7 Segment Display?
Whether it is a science project or personal satisfaction, creating a digital clock using a 7 segment display technique is very easy and handy. You can make it at your home by following some simple steps. In this article, I am going to share the requirements and the process in easy steps.
Requirements
- Some resistors (330E, 150E, 100K, 10K, 6.8K)
- Some Capacitors (220uF, 22pF, 100nF)
- Diode (1N4007)
- Socket (8 Pin and 28 pins IC)
- Power supply ( 9 to 12 volt DC supply and 1A), Battery (3 volt CR2032)
- Female Jack (DC),
- LED (3mm)
- Pushbuttons and Switches
- Oscillators (32.746 kHz and 16 MHz) and Voltage Regulator of 7805
- NPN Transistor (2N3904)
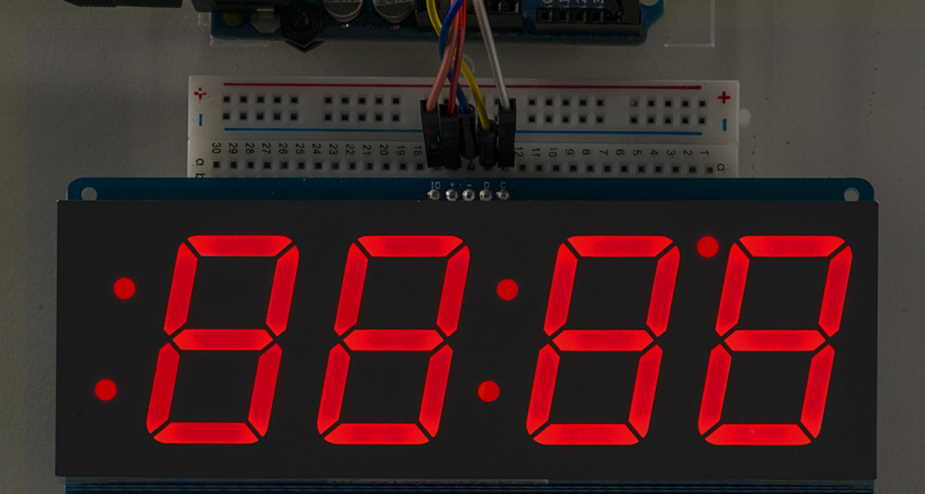
- 7 Segment anode LED Display
- Soldering Machine
It will be better for you if you buy 5 of each item. During the procedure, if anything gets hampered you will have the option in your hand.
Process
- Before starting, you should know the programming language and electric circuits. If you search on the internet you can find any circuit for yourself. Just follow it.
- Making a digital clock with a 7 segment display will benefit if you use zero PCB, dot PCB, or JLC PCB board. Anyone of these can help you out.
- Set the Arduino code properly by using a microcontroller. You have to insert the IC into a 28 pin socket on the PCB board. Then use the DC adapter. Add it into the DC socket. Then add the two ends of the notch with a battery.
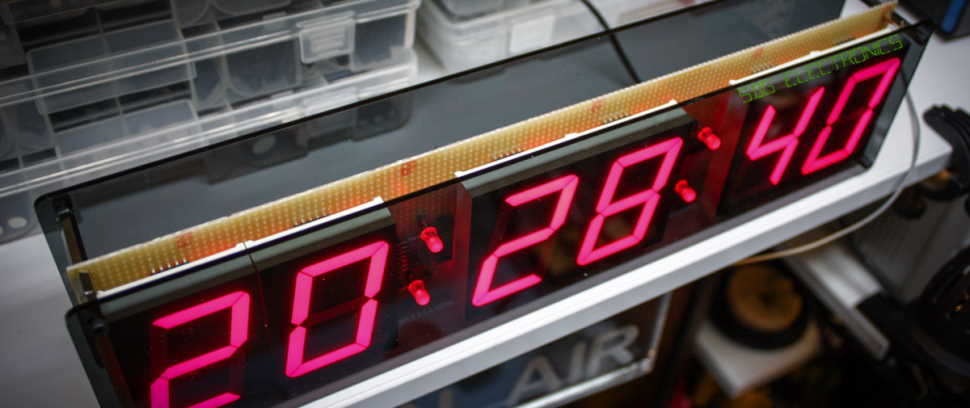
- Now the final step is here. It will prove that you have done the circuit arrangement accurately or not. Hold the pushbuttons and on the power supply socket. If you have done correctly then the reading will be on your 1 inch 7 Segment Display board. Verify it. Check the time taken to complete 1 minute is accurate with a standard clock or not.
Here is a note. You may have noticed that we are using 9 volts and 3-volt power supplies here. First go with the 9-volt power supply, if the reading is coming wrong then go with the 3-volt battery.
The main part of Creating a Digital Clock is to arrange the circuit and the programming properly. Arduino is very handy with these experiments. If you are facing troubles then first read the basics of Arduino. It will help you to the best.
